To access the My Reviews tab in Testimonial Collector, select the Get 5 Star Reviews tile.
Navigate to the My Reviews Tab. Here you can see all of the reviews you’ve collected and the review platforms you’ve connected.
 Our platform automatically pulls new reviews and responses to reviews daily (at midnight to be exact for the previous days’ data).
 You can manually force the sync by clicking on the “Sync Reviews” button. (Can take up to 30 minutes.)

When you connect a platform in Testimonial Collector, we will pull reviews from that platform and you will be able to ask your customers to leave reviews there.
Your customer will receive your customized email survey with a “Leave Review” button, which prompts them to leave you a review on your selected platforms.
You can manage your survey settings by going to your DCC, select “Get 5 star Reviews”
Select “setting”, then click on “EMAIL”
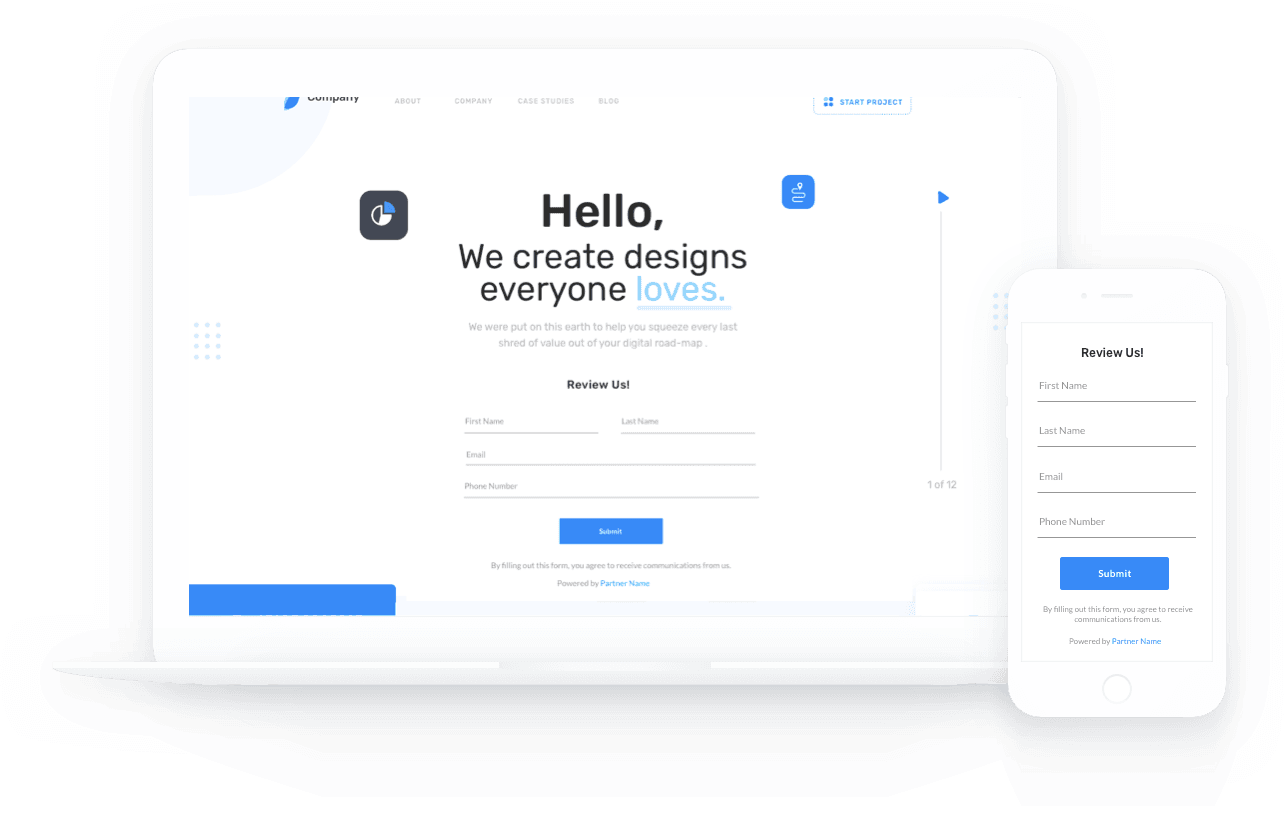
This will open an editor with the email template and the preview of the email being sent:
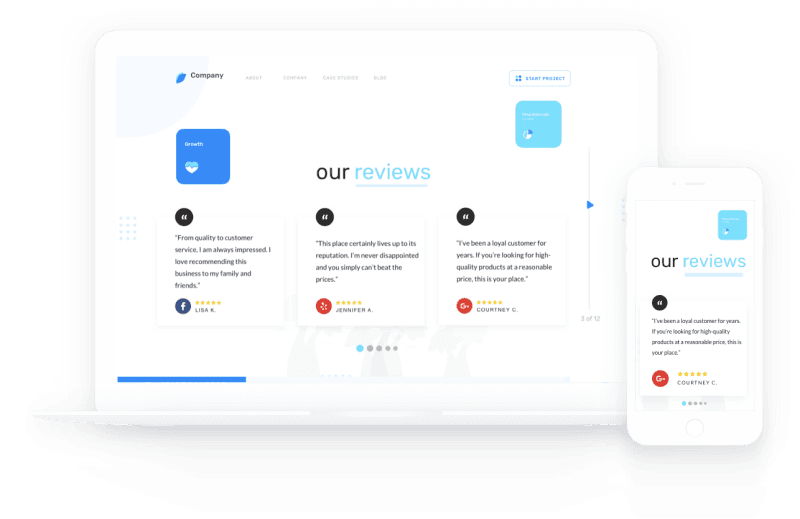
To preview your Reviews page, select the Get 5 Star Reviews tile.
Select the webpage icon to view your Reviews page.
Your Reviews page will display your logo, average rating, business hours, business address, location map, and business description.
To share a review, navigate to your Reviews page. Select the social icons next to the review to share it on Facebook, Twitter, LinkedIn, or Tumblr.
A pop-up will appear. Log in to the platform to share your review.
Your customer will receive a text message with your Welcome Message and a link to leave you a review on your enabled platforms.
Your customer has the option to give you a thumbs down or thumbs up. If the customer gives you a thumbs up, we’ll ask them to leave a review on your enabled platforms. If they give you a thumbs down, they can leave a review only you will see.
Happy customers will then be prompted to leave a review on your enabled platforms. If the customer doesn’t have an account on these platforms, they can select the “Click Here” button and their review will appear on your Reviews page only.
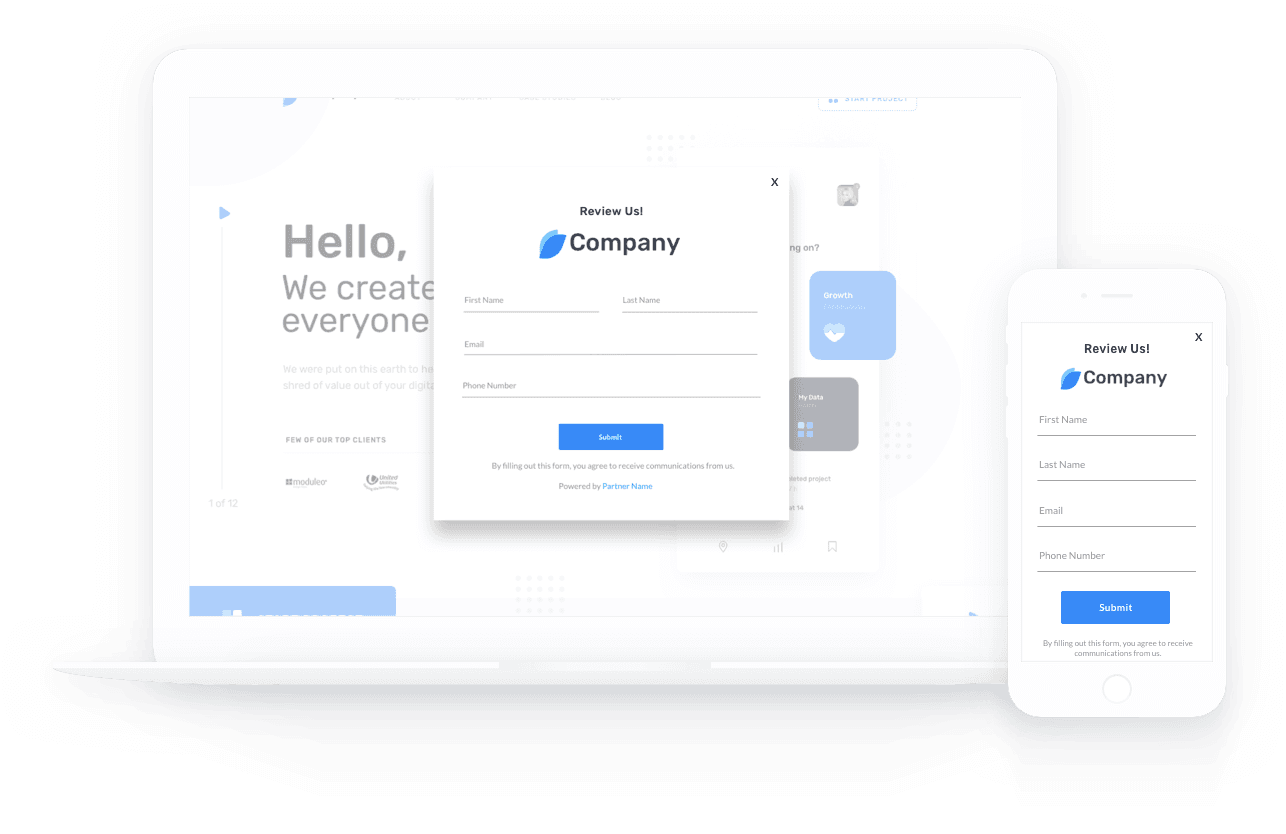
The customer will add their review, name, and email. When they’re done, they’ll select “Submit”.
The survey is now complete.
To access Testimonial Collector, select the Get 5 Star Reviews tile.
To access Testimonial Collector, select the Get 5 Star Reviews tile.
Confirm your business name and select Get Started. Your business name will appear in both text and email surveys, and it can be updated in the future.
To access Testimonial Collector, select the Get 5 Star Reviews tile.
Here you can access the following tabs: My Reviews, Get Reviews, and Settings.
You can continue to add more recipients, send a review request out now, or schedule the review request for a later date and time.
Select the three dots for more options that allow you to:
- Edit your review request
- Cancel the review request
- Send now
- Preview your message
Our tool lets you send customizable text surveys to your customers. It works because 81% of Americans own a smartphone, and if we’re honest, aren’t we all glued to them?
SMS surveys are a great way to catch customers where they’re already spending a lot of their time, but good survey messaging plays a big part in sealing the deal.
Here are our best tips for writing a survey that people want to take.
Keep it short.
It might be tempting to just copy/paste your email survey, but your text message should be unique – and feel like a text message! We all love texts because they’re a fast way to communicate, so keep yours short.
Make it personal.
Just like with email, people are more likely to respond to your text survey if it feels personal. Use our tags feature to insert dynamic tags like your customer’s name. This will do great things to your response rate.
Mention your business name.
You may have just interacted with a customer, but that doesn’t mean you can assume they know who you are. Always start with mentioning your business name to introduce yourself and make your message clear.
Be friendly.
Text messages are more informal than an email. They’re casual, so make sure you strike a friendly, helpful tone. Thank your customer for their support and make sure they know that their feedback helps you a lot!
Make your call to action clear.
Your survey should end with your CTA – whatever action you want your customer to take. In this case, it’s to leave you a review. Use a variation of “Click the following link to leave us a review”.
Use one of our templates.
When in doubt, try starting with one of the templates below. Don’t forget to keep adapting. Try and get your response rate as high as possible!
- Hi [First Name], thanks for being a loyal [Business Name] customer. It was our pleasure serving you! We’d love your feedback to make sure we’re giving you the service you deserve. Please click the following link to leave us a review.
- Hi [First Name], thanks for your recent purchase at [Business Name]! We appreciate your support and want to make sure we keep providing you with great products. Please click the following link to leave us a review.
Your survey messaging should speak to your customer.
A change to your message can mean the difference between a new 5-star review and your request going straight in the trash.
Read on for advice on how to write an email survey that resonates.
- Be clear and concise.
Your survey should get straight to the point. Don’t overwhelm your customer with a bunch of words that don’t really mean anything. Be direct! It’s easy for them to leave a review, so make sure your messaging is easy breezy too.
Take advantage of paragraph breaks and don’t just include one single block of text. The extra space makes your email easier to read.
- Set the right tone.
You don’t need to be a pro to write your survey, you just need to be sincere! Not too serious or stuffy.
Think genuine. You are genuinely grateful for your customers and you want to hear what’s on their mind. Make sure your email strikes that tone.
- Mention how long it will take.
We’ve developed our tool so that it’s super quick and easy for customers to leave a review, so make sure they know that. Tell them the whole process should take less than a minute.
- Make your CTA stand out.
Your call-to-action button should stand out from the rest of your email. This is the action you want your customer to take, so make sure it pops. A bright button color can make a big difference.
Try different button text too. Choose whatever you think your customer is most likely to click.
Try some of these:
- Review Us
- Leave a Review
- Share Your Thoughts
- Leave Feedback
- Add your contact info.
Let’s say a customer gets your survey and they’ve been less than thrilled with their experience. You need to make sure they have a quick way to get in touch with you.
Add your phone number and/or support email so if they want to give you a piece of their mind, they can do it right away (and offline).
- Test your subject line.
Making an adjustment to your subject line could do great things for your open rates.
Here are a few different ones for you to try.
- How did we do?
- We’d love to hear your feedback
- Got a minute to share your experience with [Business Name]?
- We want your feedback
- Try one of our templates.
When in doubt, try one of the templates we’ve created below.
If you’re a business that offers services to customers, try this one:
Hi [First Name],
Thank you for being a loyal [Business Name] customer. It was our pleasure helping [Service You Provide].
We’d love your feedback to make sure we’re giving you the service you deserve. Will you take a moment to leave us a review? It takes less than a minute.
REVIEW US
If your experience with us hasn’t been positive, contact us directly so we can make it right. Call [Phone Number] or email [Support Email].
Thanks again!
– [Business Name]
If you sell products to customers, use something like this:
Hi [First Name],
Thank you for your recent purchase! We appreciate your support and want to make sure we keep providing you with great products.
Would you take 30 seconds to leave us a review? We’d love to hear your thoughts.
SHARE FEEDBACK
If you’re anything less than thrilled with your purchase, contact us directly so we can make it right. Call [Phone Number] or email [Support Email].
Thanks for your support!
– [Business Name]
- Keep adapting.
And last but not least, don’t let your survey messaging get too stale. Keep working and reworking. Sometimes a little change in messaging can make a big difference.
We all know reviews rock. 97% of people read reviews for local businesses, and that shouldn’t surprise you if you consider your own buying habits. When’s the last time you bought something or did business with someone without doing your research?
On the flip side, reviews can also break you. 94% of consumers say an online review has convinced them to avoid a business. Lesson learned: When it comes to reviews, there’s a lot at stake. You should always be collecting high-quality and recent reviews. Here are our best tips to make sure you nail it.
- Use your tool.
High fives all around because you’ve already got the hard part of review collecting figured out. You have a tool that does the work for you! With Testimonial Collector, you can send customizable surveys to your customers via text and/or email.
Start by personalizing your survey messaging. Keep it short, sweet, and simple. Insert dynamic tags, like your customer’s name, to give it an extra personal touch. Connect the platforms you want your customers to leave you reviews on, and then you’re ready to start collecting those 5-stars.
- Automate with Zapier.
We get it: You’re busy, and if you can barely find time to breathe, when are you going to find time to send surveys?
One of our favorite things about Testimonial Collector is our Zapier integration.
Zapier is an online automation tool that connects your favorite apps. You can connect two or more apps to automate repetitive tasks, like manually sending a survey!
When you connect Zapier to whatever tool you use to manage customers – HubSpot, Stripe, Square, and 400+ others – you automatically trigger surveys based on the interaction of your choice. For example, any time you complete a sale, you can automatically send a survey to that customer.
- Test different messaging.
Before you get too comfy with your survey messaging, test different versions. You might see a better response rate by making a few adjustments to your email subject line, call to action, etc.
- Ask for reviews in person.
The best time to ask for a review is shortly after a customer’s interaction with you, usually in person, sometimes over the phone. You want their positive experience to be fresh on the brain. If a customer is loving you, don’t hesitate to ask them for a review.
Let them know how much it helps you and other potential customers! Chances are they’ll be happy to spend 30 seconds of their day promoting a business they really care about. After all, 76% of consumers that are asked to leave a review go on to write one.
 If you’re taking advantage of our Zapier integration, you can rest easy knowing that your customer will get a survey in their pocket (or email) right after their purchase, making the effort required on their end next to none.
If you haven’t set up Zapier yet, you can manually send a survey from our mobile app to follow up on your conversation. It’s quick and easy to do on the go.
5. When it comes to platforms, give options.
We say the more platforms you’re on, the better. More profiles means more ways for potential customers to find you! And when requesting reviews, it’s good to give your customers options.
With Testimonial Collector, you can collect reviews on more than 15 of the top platforms. Enable as many of these as possible when setting up Testimonial Collector. If they make sense for your business and industry, get on there.
- Be quick to respond.
Let’s say a customer leaves you a glowing review. That’s a nice thing for them to do! Don’t forget to respond with a “thank you” or “we really appreciate the feedback”.
And if the review is less than great, jump on it. Turn it into in opportunity to show your excellent customer service and how far you’ll go to make things right.
Respond to all your reviews in one place via the My Reviews tab in Testimonial Collector.
- Spread the word!
Once you get a great review, it’s time to share the news. Post it on social media for all your followers to see.
The auto share feature in Testimonial Collector does this for you. Just select which star ratings you’d like to share and what platforms you’d like to share them to.
- Focus on making your customers happy.
It’s a no-brainer. Great reviews all start with giving your customers a 5-star experience, and no one knows how to deliver that better than you. With your sights set there, and with our tools in your corner, we see lots of stars in your future.
Yes, Testimonial Collector will allow you to send a survey to the same customer multiple times.
No, changes you make to survey recipients in Testimonial Collector will not reflect in the Your Customers section.
When you disconnect a platform in Testimonial Collector, we will no longer pull reviews from that platform and you won’t be able to ask customers to leave reviews there.
Some platforms will require your username and password, others only require the URL for your business account, and others will redirect you to their login page. The following screen will display. You can access the following tabs:Select the gear icon or the Review Platforms dropdown menu to connect a platform. The following are the platforms you can connect and disconnect in the Testimonial Collector settings:
If you have not connected a social media account before, you will be prompted to give your username and password for the account.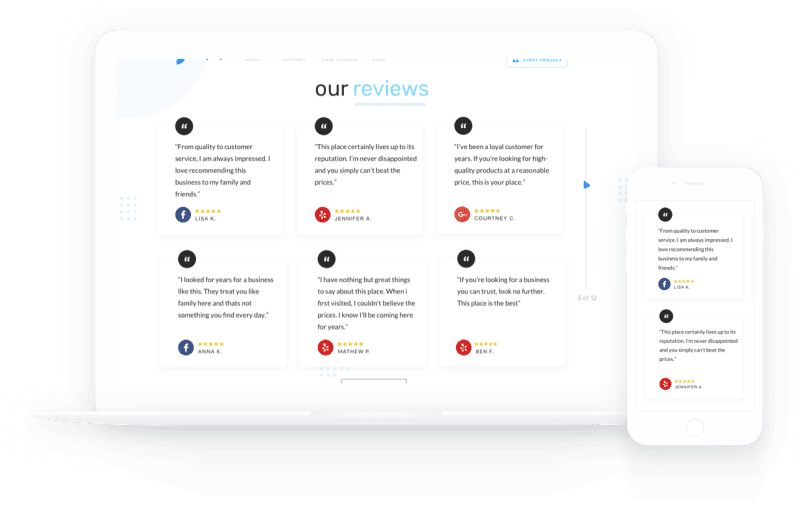
- Select a layout
- Edit the title
- Enable the View More button
- Update the embed background color
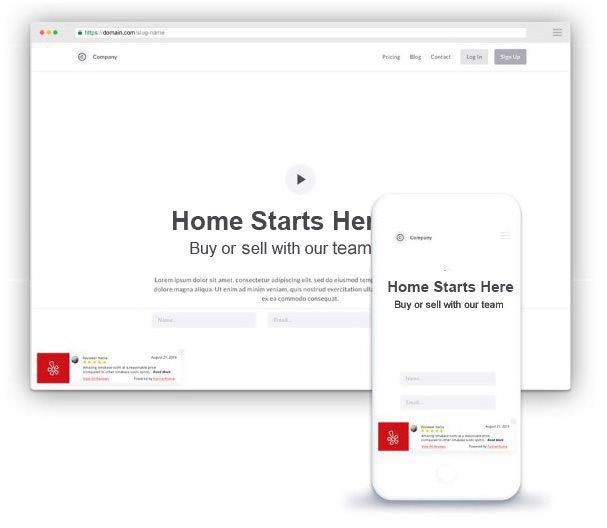
Add this embed to a page on your website to invite visitors to review you.
To add your Facebook Brand page, select the Get 5 Star Reviews tile.
Select the Settings tab.
Select the Facebook icon. A pop up will appear. Enter your login info.
Select your Facebook Brand page, and then select Finish.
Your Facebook page has now been connected.
To view the platforms you can auto share reviews on, select the Get 5 Star Reviews tile.
Select the Settings tab.
You can auto share reviews on the following platforms:
- Tumblr
- Your Reviews Page
You can use Testimonial Collector to collect reviews on the following platforms:
- Yelp
- Foursquare
- Google Reviews
- Manta
- Trustpilot
- Angie’s List
- Houzz
- OpenTable
- Tripadvisor
- Ratemds
- The Knot
- Wedding Wire
- Realtor
- Zocdoc
- Yellow Pages
- Cylex
- Consumer Affairs
To view your Testimonial Collector settings, select the Get 5 Star Reviews tile.
Select the Settings tab. On this tab you can:
- Customize your survey
- Add or remove review platforms
- Turn auto sharing on or off
- Add or remove auto sharing platforms
- Select what reviews you want to auto share (3+, 4+, or 5 stars)
To access Testimonial Collector, select the Get 5 Star Reviews tile.
Select the Settings tab.
Select to enable the platforms you would like your customers to leave you reviews on.
To add a review platform, select the Get 5 Star Reviews tile.
Select the Settings tab.
Select the platform you want to add.
Copy and paste the URL to your page on that platform, and then select Connect.
Select the Get 5 Star Reviews tile.
Select Settings
Auto share reviews as the name infers will automatically share the customer reviews (survey submitted) to the configured Auto share social Networks based on the Auto share settings.
Note: If a customer does not have an account with the review platform(s) you’ve enabled, their review will be added to your testimonials page. These are the reviews that can be automatically shared to your social media accounts.
To access your notification preferences, select the Get 5 Star Reviews tile.
Select the Settings tab, and then select the Notifications sub tab.
To get an email notification each time you receive a review, toggle the New Testimonials notification to On.